
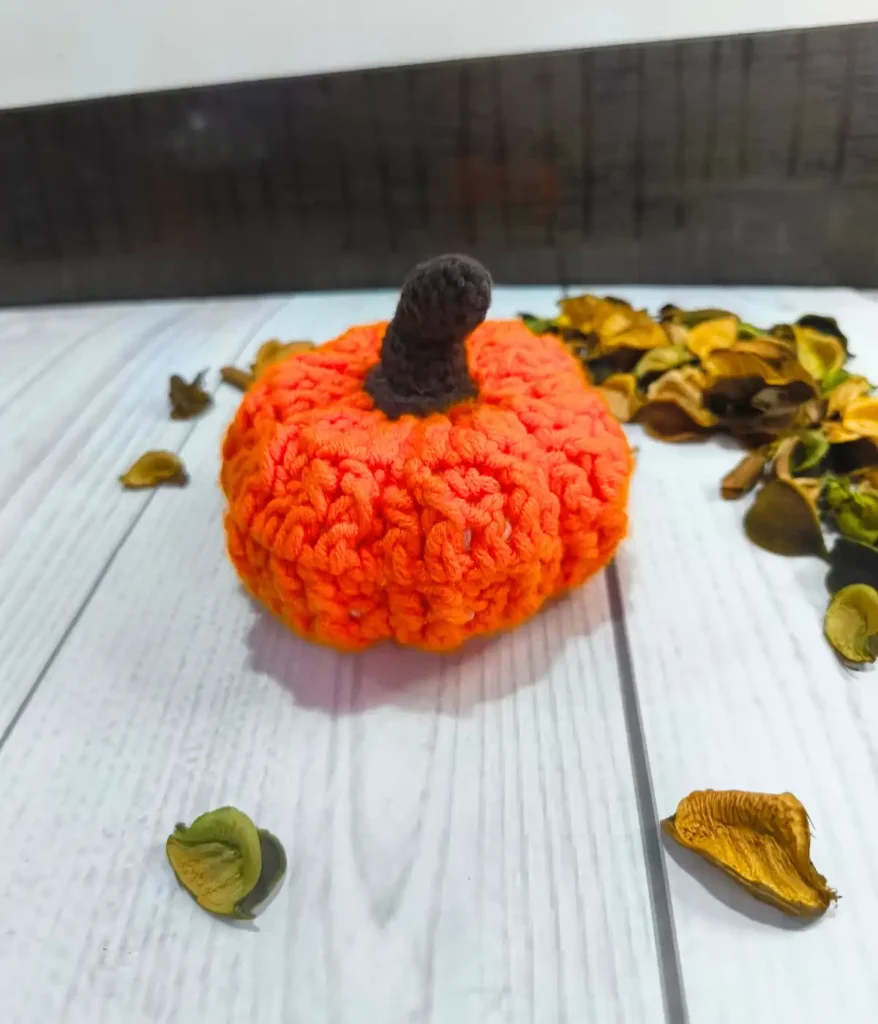
It feels so good to make pumpkin in the fall season and decorate your house with it.
This easy crochet pumpkin pattern is very easy to make but looks a bit textured.
I have made this using a combination of frontpost double crochet and double crochet stitch.
If you know the front post double crochet stitch, you can make it easily.
To make this, first of all we will make a rectangle.After that, we will thread its edges with yarn and give it the look of a pumpkin.
Let’s start…
- Pattern Notes:
- Materials Needed
- Yarn recommendations:
- More Easy Projects
- Abbreviations
- Stitches Needed –
- Sizes:
- How to Crochet Pumpkin Pattern
- Shaping the Pumpkin
- Creating Sections
- Making Stem
- How to curve it:
- Tips and Tricks:
- Printable Pattern
- How to change the size of the pumpkin
- Video Tutorial
- Join My Private Crochet Beginners Facebook Group!
This post may contain affiliate links from which I earn commission.
Pattern Notes:
Please read full pattern before you start to crochet. It will help to make perfect pumpkins.
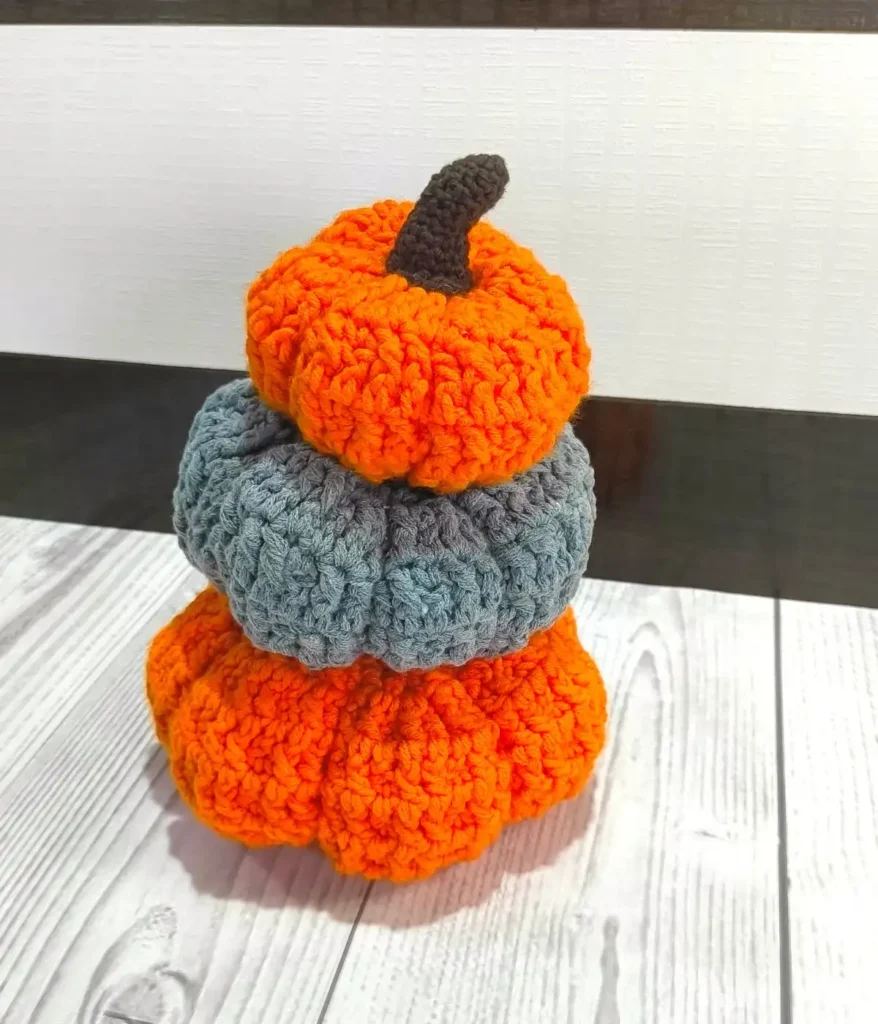
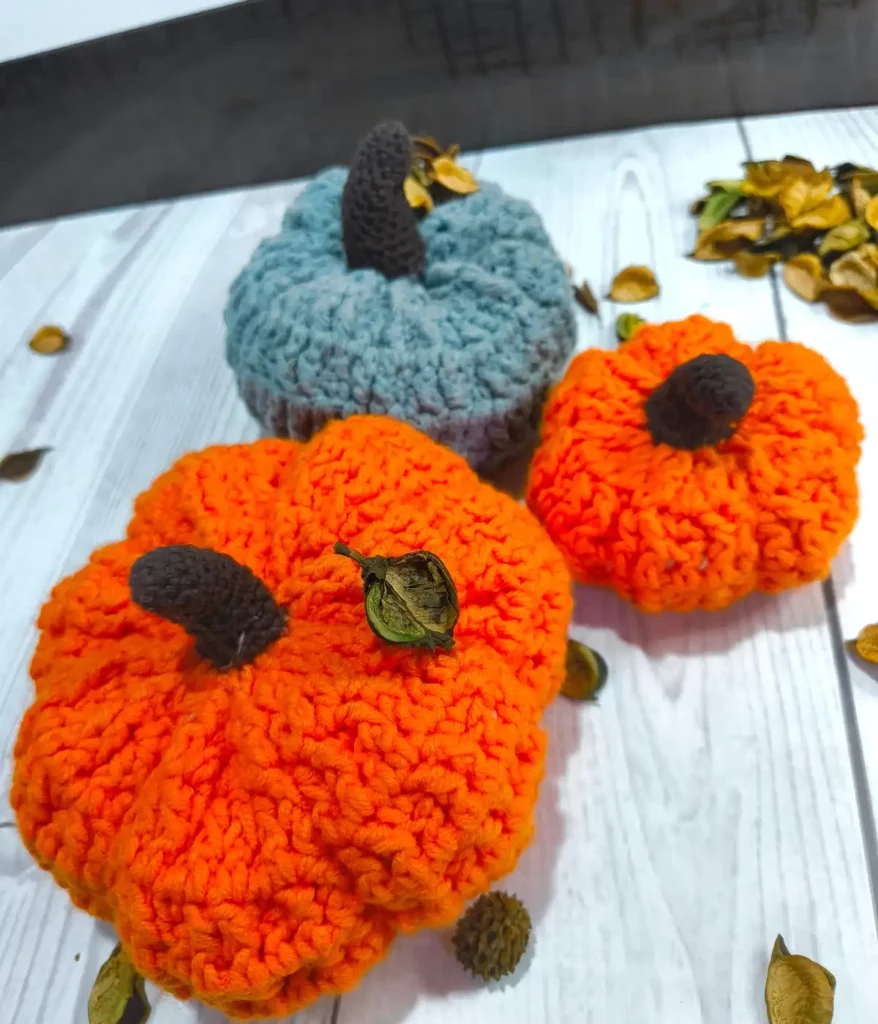
Pumpkin pattern is available in three sizes – small,medium and large.
The only difference between their sizes is the rectangle shape. The method of making them is the same.
Their stitch count is given according to small, medium and large.
For example, if a stitch is 30 in small, 35 in medium and 40 in large, then it will be written like this 30(35,40).
Terminology: US
Difficulty level: Easy
Gauge for pumpkin: 18 st. × 5 rows in 10 cm
Materials Needed
Yarn :
For Pumpkin: I used worsted weight yarn. Which is 100% acrylic yarn for pumpkin
Yarn for stem: weight 2 cotton . I used Hobby Store yarn.
If these yarns are unavailable for you then you can choose any of these yarns.
Yarn recommendations:
Yarn for pumpkin
Color Theory Yarn from Lion brand
It’s not necessary to choose orange for your pumpkin. You can choose according to your preference.
Yarn for Stem: For the stem, I have taken coffee colored recycled weight 2 yarn which is cotton yarn.
Recommended yarn for stem:
Premier Cotton Fair Yarn– You can easily use this yarn in this project. You can choose slate grey color.
Hook– I used a 5mm hook for pumpkin and 3.5 for stem. I would recommend these hooks-
Clover Amour– 5mm hook for pumpkin.
clover amour 3.5 mm hook for stem
If you want to buy the complete set then you can buy this one.
Clover Amour crochet hook set- It comes in 10 sizes so you don’t have to buy separate hooks.
Fiber fill for stuffing in pumpkin
Scissors
Needle
More Easy Projects
Abbreviations
- dc: double crochet stitch
- Fpdc: Front post double crochet stitch
- sc: single crochet stitch
- inc: increase stitch
- (…): multiple stitches in one stitch
- […]: Repeat stitches up to the specified number.
- {…}: total number of stitches
Stitches Needed –
- Chain
- Single Crochet Stitch
- Double Crochet Stitch
- Front Post Double Crochet Stitch
Sizes:
Rectangle size (width × height) :
small: 10 × 4 inches
medium: 15 × 6 inches
Large: 19 × 7.6 inches
Pumpkin size with stem (Lenght×width):
Small – 3.2 × 4 inches
Medium – 4.5 × 6 inches
Large – 4.6 × 7 inches ( it is similar to medium because of the yarn change, I use 100% cotton yarn to make medium size pumpkin, instead of acrylic)
For any confusion pls refer the video tutorial.
How to Crochet Pumpkin Pattern
chain 39 (54,66)
Row 1: Dc into 3rd chain from the hook.
dc in every stitch {37(52,64)}
Turning Chain 2 (count as a stitch)
Row 2: 1 fpdc into the second dc of the previous row, 1 fpdc in next dc , 1 sc in the stitch.
*2 fpdc in the next dc, 1 sc* repeat across the row.
Turning chain 2
Make rows 5(7,9) by repeating Row 1 and 2.
your rectangle is ready.
cut a very long tail, f/o
Shaping the Pumpkin
make a book fold of this rectangle . put yarn in the needle. And sew the both ends together.
now with the same yarn , “Take the needle out through all the FPDC stitches in the topmost row.”
Now pull the yarn tightly to close the opening, shaping it into round. Tie the yarn into a knot and cut it.
It will resemble a bag. Now fill it with fiberfill. Take a very very long tail and attach it with edge of this bag. Seal the opening with the same method.
Creating Sections
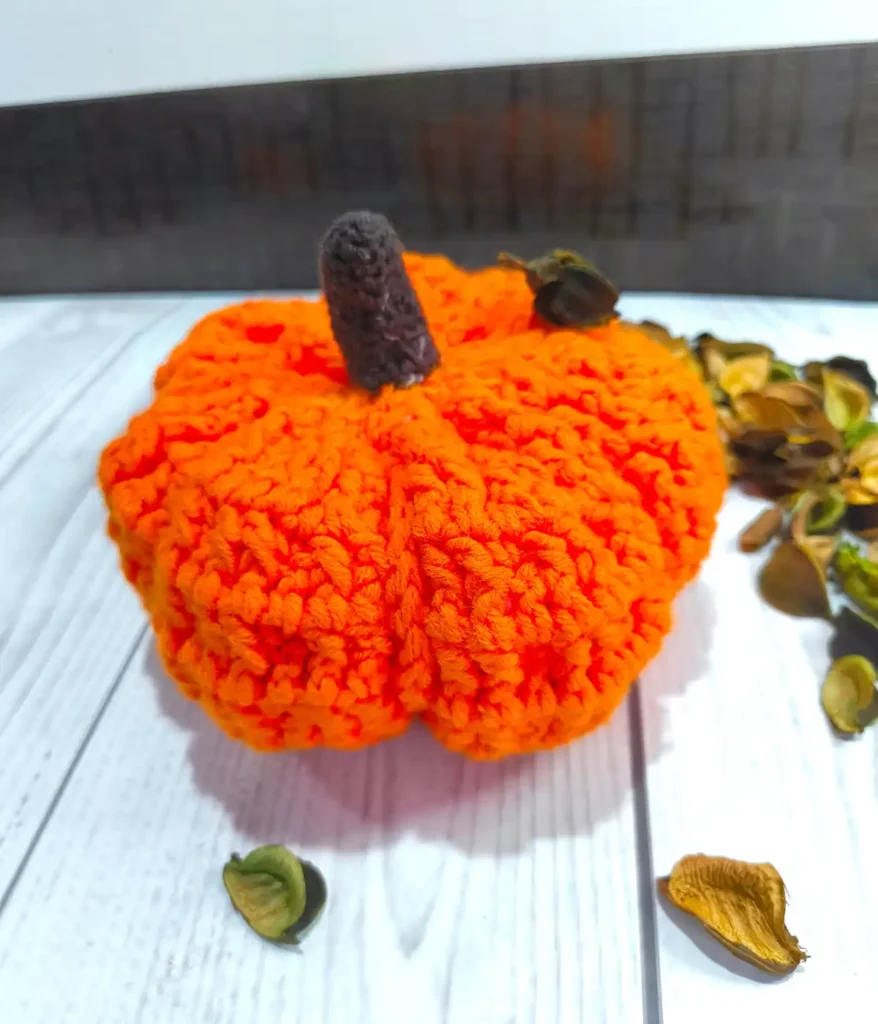
Now we will create the sections of the pumpkin. Using the long yarn, insert the needle through the center of the pumpkin from the bottom and bring it out through the top. Pull the yarn tightly to create a defined section. Repeat this around the pumpkin to form all the sections. 🎃
You can make 6 or 7 sections of pumpkin.
Pumpkin is ready, Now we will make stem
Making Stem
Rnd 1: In magic circle , make 3 sc
Rnd 2: (1 sc, 1 inc) × 3 {6}
Rnd 3: [1 sc (1sc, 1 inc)] × 3 {9}
Rnd 4-8: 1 sc in every stitch {9}
Rnd 9: [2 sc (1 sc, 1 inc)] × 3 {12}
Rnd 10-12: 1 sc in every stitch {12} . It is sufficient for small pumpkin stem.
For medium and large pumpkin,
Rnd 13: [3 sc (1 sc, 1 inc)] × 3 {15}
Rnd 14: [4 sc (1 sc, 1 inc)] × 3 {18}
Now fill this stem with fiber fill. And “Stitch it onto the pumpkin.”
How to curve it:
To curve it, after stitching it with the pumpkin, Use the same yarn you used to attach the stem.
1. Bring the needle up through the bottom of the stem and bring it out through the 9th row.
2. Moving horizontally, skip 2 stitches and insert the needle into the 3rd stitch. Bring the needle out through the corresponding stitch in the 5th row.
3. Now, moving 2 stitches back horizontally, insert the needle into the 3rd stitch and bring it out through the stitch in the 7th row.
4. Repeat the same process one more time.
your pumpkin is ready.
Tips and Tricks:
1.Don’t stuff it with too much poly fill fiber, just as much as it can get close to.
When cutting the yarn to attach the stem, use a slightly longer yarn so that it doesn’t have any problems curving it.
2.After you have filled the fiber, when you attach the second yarn to close the pumpkin, make sure it is very long otherwise you will face problems in making the sections.
How to change the size of the pumpkin
you can increase or decrease its size. To do this, you will need to change the size of the rectangle.
Normally there is a difference of 4 to 5 inches in the sizes of rectangles,
to make it bigger you will have to add 4 to 5 inches to the large size.And to make it smaller, you will have to reduce 4 to 5 inches.
You will also need to change the inches of the rows. For this, divide the inch size rectangle you want to make by 2.5.
For example: If you want to make a 10 inch rectangle then 10÷2.5= 4 inches, you have to make rows until 4 inches are completed.
Crocheting is so much fun, especially when we’re making something we really love or want to give someone as a gift.
How did you make your pumpkin and what color did you make it in? Please let me know. You can tell me in the comments below, or tag me on Instagram, or you can also show me your work in our Facebook group.
Copyright Notice: This pattern is for personal use only. You may not reproduce, distribute, or sell this pattern in any form, including photocopies, digital copies, or translations. You are welcome to sell finished items made from this pattern in small quantities, but please credit CROCHET HOURS as the designer.