
Learn how to make your first crochet project.this simple crochet hat pattern for adults comes with an easy video tutorial to guide you every step of the way. Let’s make something cozy together!
This blog may contain affiliate links, meaning I may earn a small commission if you purchase through these links at no extra cost to you.
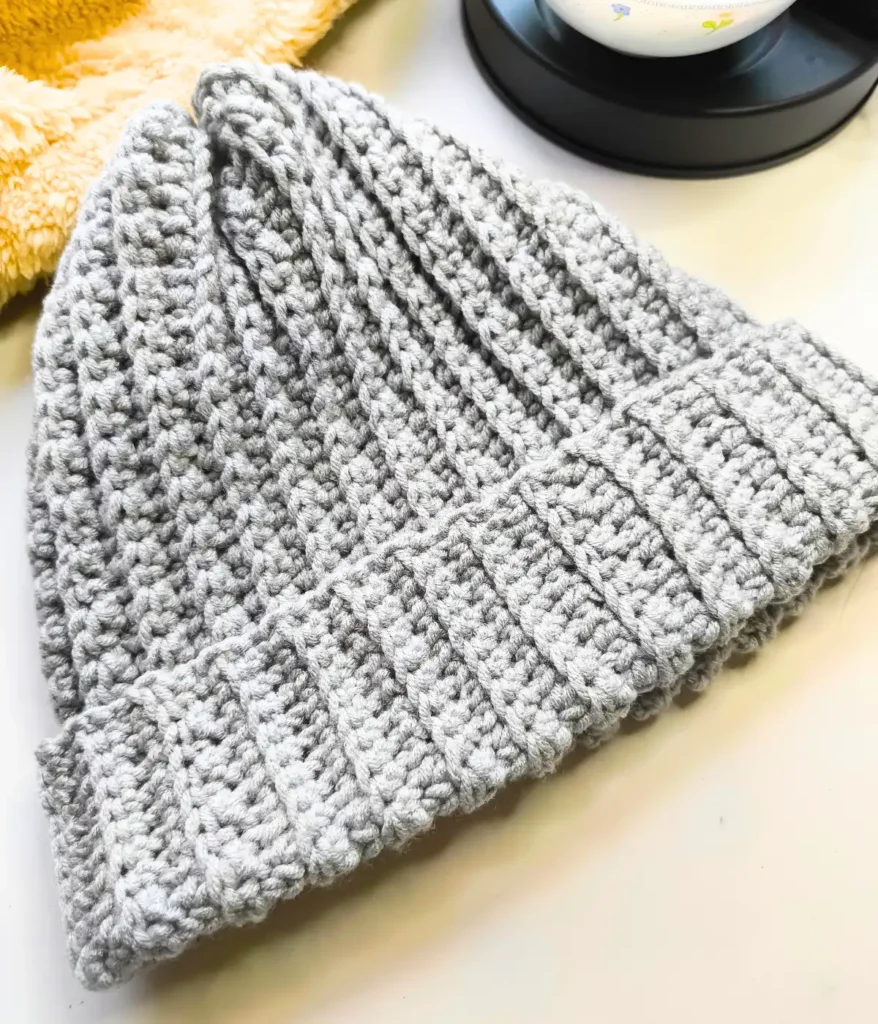
Materials:
Yarn :
Aran Anti-Pill Yarn by Hobby Store – Light Grey 2023
Aran(#4), 100% premium acrylic, 190 m / 207 yd, 100 g / 3.5 oz
Needle
Scissors
pom pom (optional)
Yarn substitute:
👉 Yarn: Premium Worsted Weight Lion brand Yarn on LoveCrafts
Size
This hat is of adult size.
circumference- 18 inches
Height- 10 inch
Yardage
It took me a whole skein to make this. Only 1 to 2 meters of yarn is left. If your tension is loose then purchase yarn accordingly.
Gauge
main body (not brim)- 16 stitches × 14 rows in 10 cm
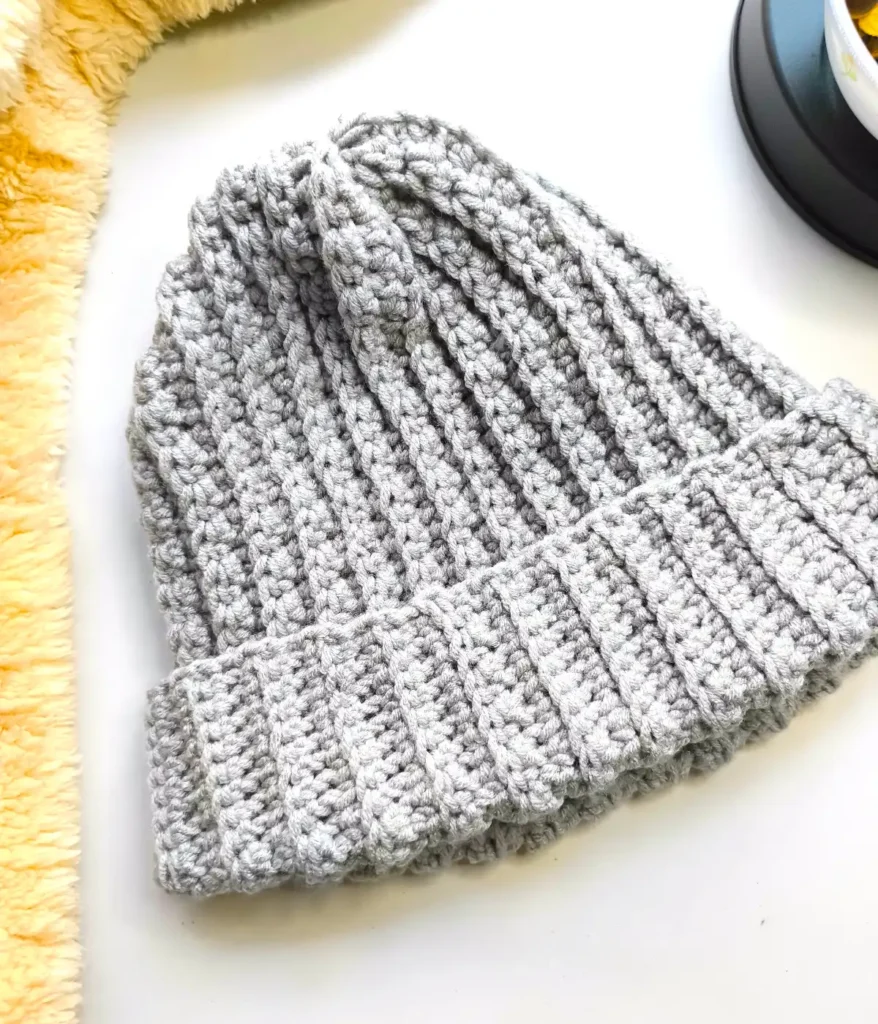
Pattern Notes
Terminology- US
Skill level- Beginner
To make this pattern, first we will make a rectangle and then we will give it shape by stitching its top.
To make a rectangle, start with a chain as long as the height of the hat.
We have made this entire pattern in back loop.
Count the stitches at the end of each row; there should be 43 stitches in each row.
Pattern Help & Support Group
If you are confused about any step, join our Facebook group, all your doubts will be cleared there.
Abbreviations –
hdc – half double crochet stitch
blo- back loop only
tyw- turn your work
*…*- repeat the pattern
{…} – total number of stitches
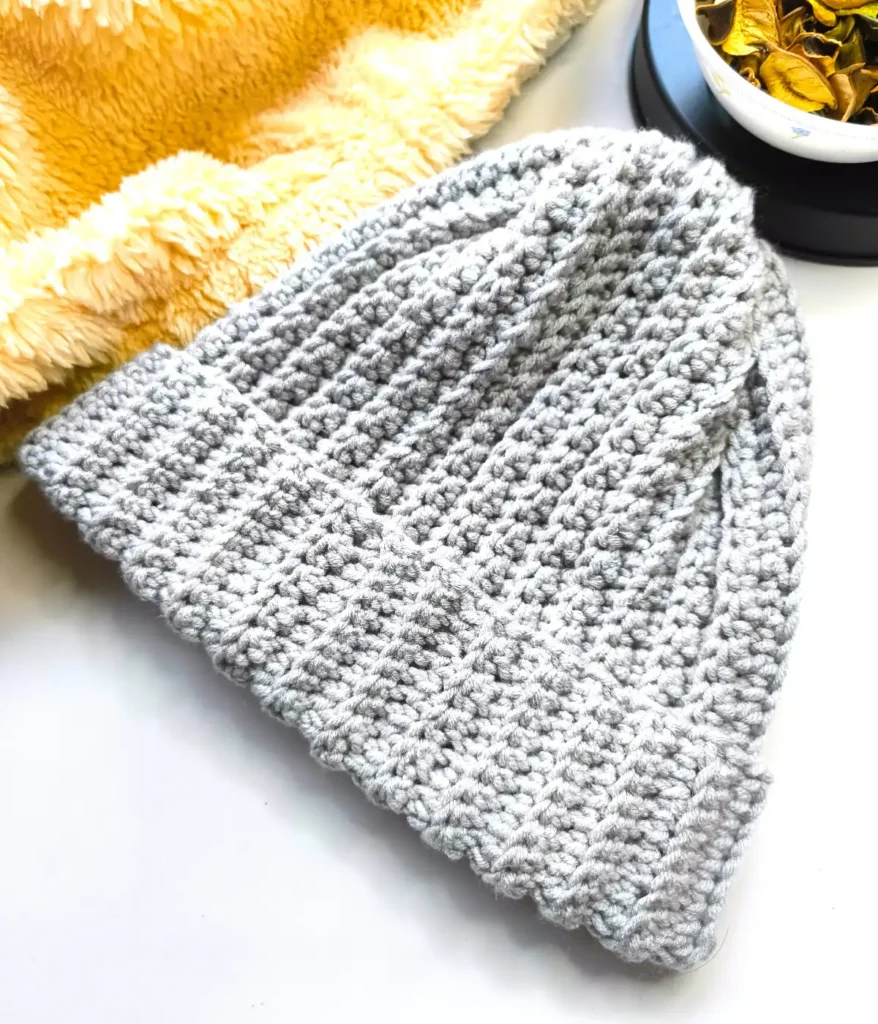
Simple crochet hat pattern
chain 43 + 1(turning chain)
Row 1- 8 sc in blo from the second chain from the hook
*1 hdc, 1 sc* in blo repeat across the row {43}
Row 2– chain 1 (turning chain)
*1 sc, 1 hdc* Repeat this pattern until you have 8 stitches left at the end of the row.
8 sc
Row 3– chain 1, tyw
8 sc, *1 hdc, 1 sc* repeat the pattern across the row
Row 4-58 – repeat row 2 and 3
Now fold this rectangle like a book.
You need to sew the side opposite the closed side, using slip stitches.
Cut a very long tail to sew the top, fasten off.
Thread the yarn through the needle.
Now we have a hollow cylinder or tube. We need to work on the top of it.
Thread the needle through the ribbed pattern every single row. You have to take the first stitch of every row through the needle.
When you reach the last row, pull the yarn tight enough to close the top.
It will now look like a cap to you.Now you will have to sew horizontally with the help of the needle the open part that is left in the centre.
Secure it in a knot and weave the ends.
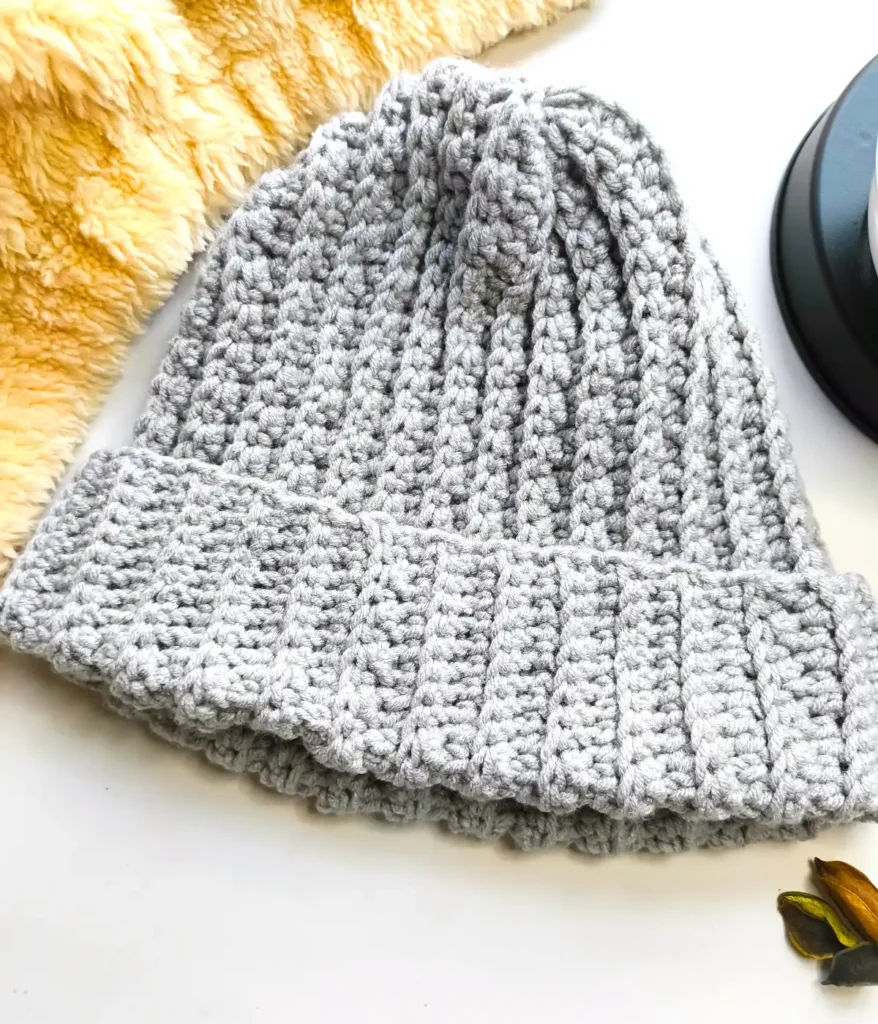
Now you can fold the brim. Your hat is ready.
More Free Patterns-
How beautiful is this hat of yours, did you make it for yourself or for your loved ones, please tell me.You can tag me on Instagram or share this in a Facebook group.
Copyright Notice: This pattern is for personal use only. You may not reproduce, distribute, or sell this pattern in any form, including photocopies, digital copies, or translations. You are welcome to sell finished items made from this pattern in small quantities, but please credit CROCHET HOURS as the designer.
I really enjoy crocheting. if you enjoyed this simple crochet hat pattern and If your beanie hat is finished, don’t forget to tag me on instagram @crochet_hrs or #crochethours with a photo of your project. I would be happy to see your project.